DIY Pumpkin Pi
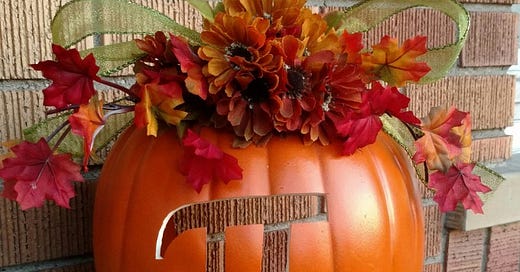
Hello all! I thought I'd switch things up and post a little how-to for everyone for a project I did this weekend. Behold! Pumpkin pi!
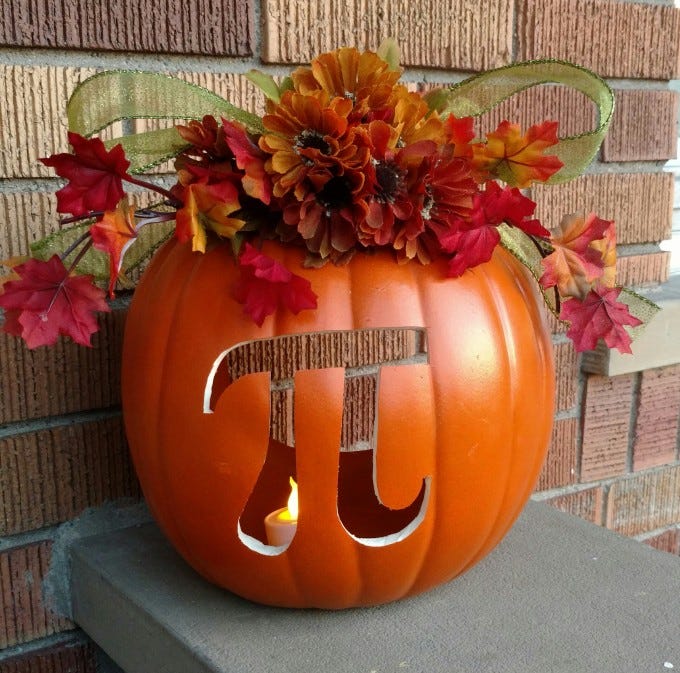
Oh my god, I am the dumbest. But how can I resist a pun like this?!
This was fun and easy to make. Let's talk supplies.
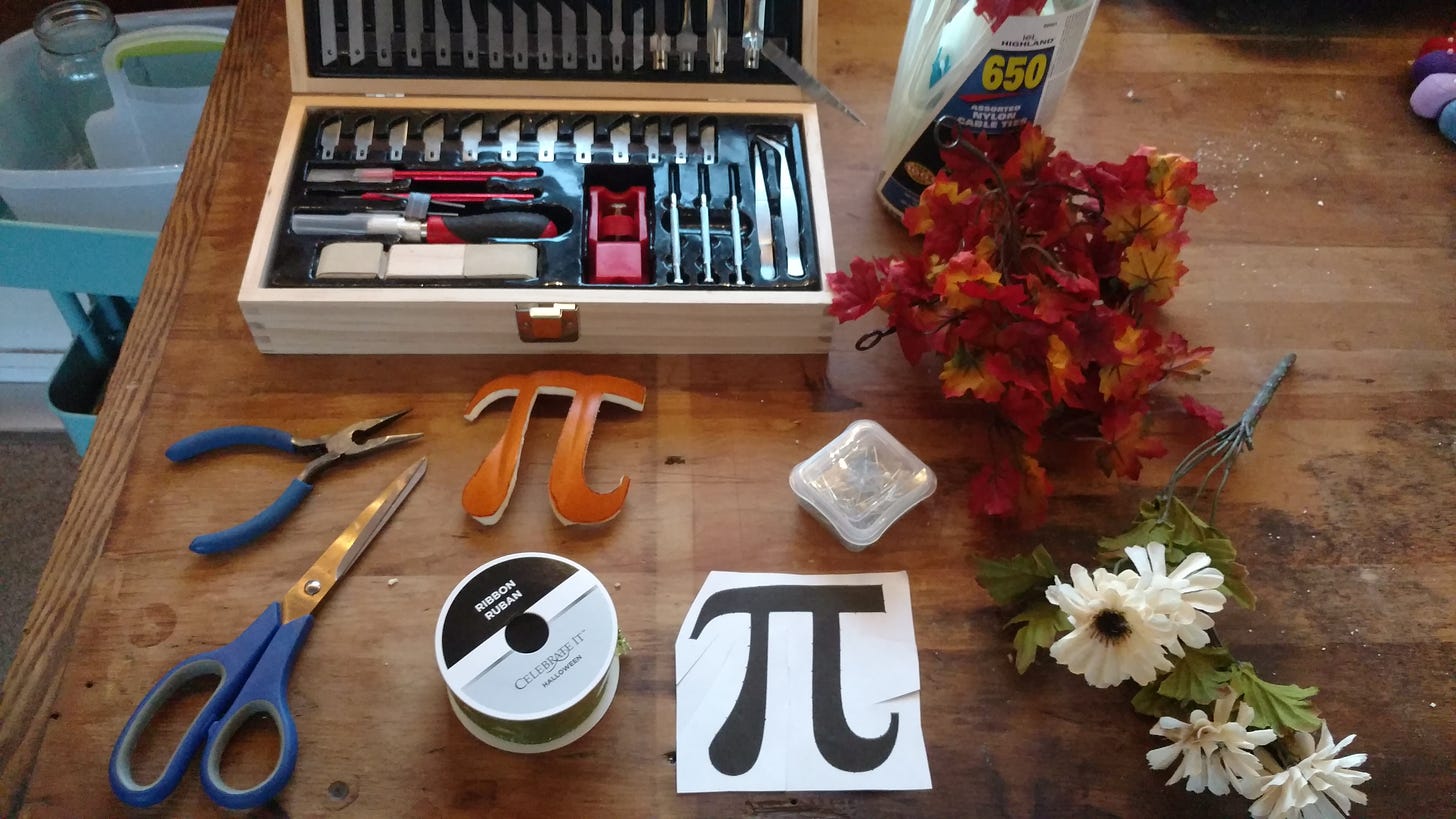
Tools:
One craft pumpkin (we opted for the kind with the back pre-cut out)
A printed picture of the pi symbol (here's one from Wikimedia! I resized it in Word)
Pins, like sewing pins
A pen
A sharp tool like an x-acto knife
One LED tea light (those craft pumpkins are WAY flammable)
Extra Credit:
Seasonal fake flowers/foliage
Ribbon
A wire cutter
Hot glue, zip ties, etc.
Maybe a drill!
Here's the step by step for creating your own pumpkin pi!
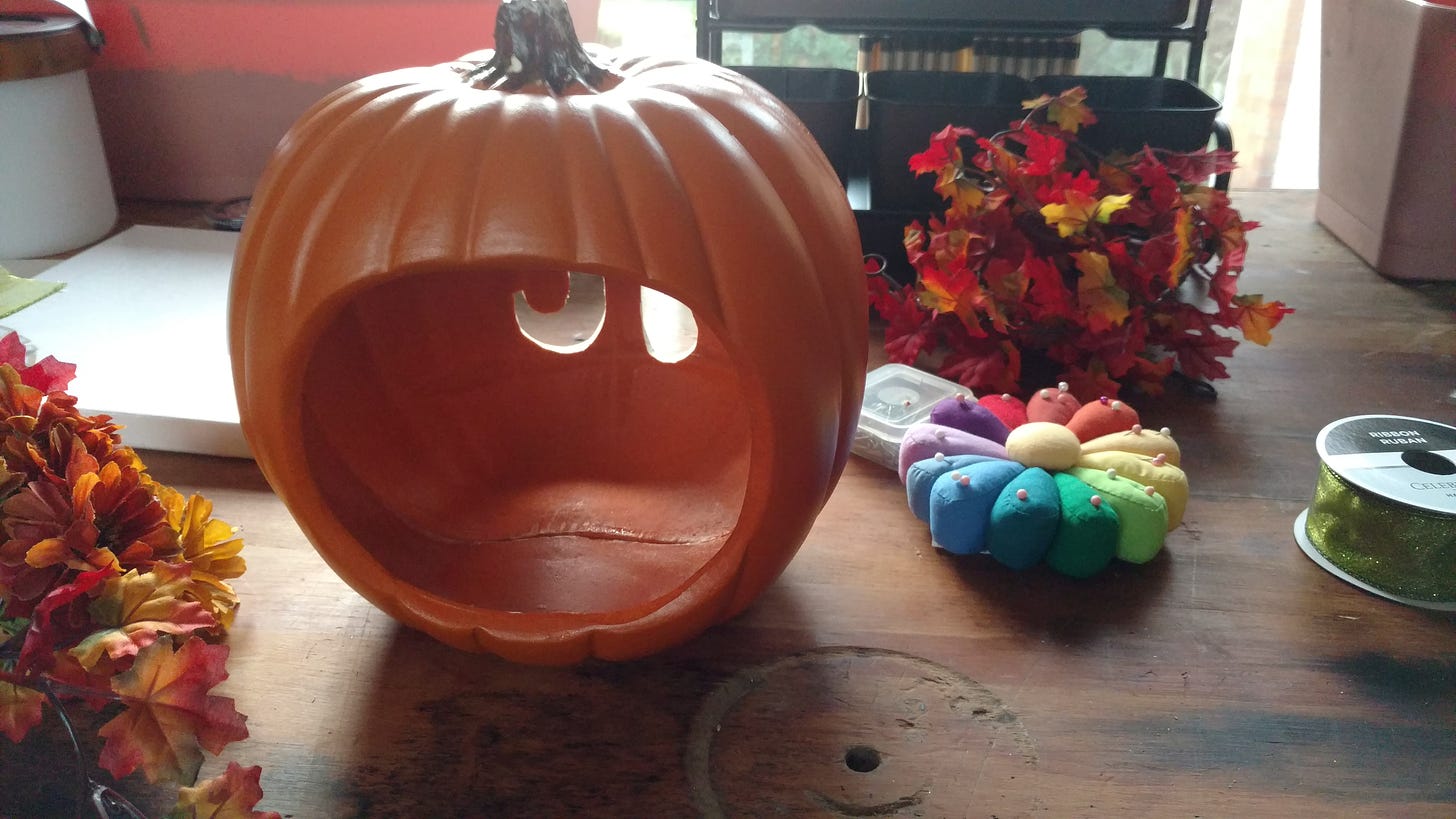
1. Print our your pi symbol after looking at your pumpkin and getting an idea of how tall you want that guy. My pumpkin was a medium size so my pi symbol is about 4.5" tall. Snip around the pi symbol, cutting in some relief cuts (see picture below) since the pumpkin is slightly curved. Just makes the next step easier.
2. Position the pi symbol on the front of your pumpkin. Use a pin and press it into the craft pumpkin. You don't need to worry about pressing the pin all the way inside. We just want it to produce a hole on the surface of the pumpkin. So maybe a third of the pin needs to be pressed in?
3. Start pushing in pins all around the pi symbol. You want to get a good outline going.
4. Once you're sure you have the symbol totally outlined... pull them out. I know. It sounds crazy. Then remove the paper from the pumpkin. Here's a photo of my pi symbol once I took the pins out.
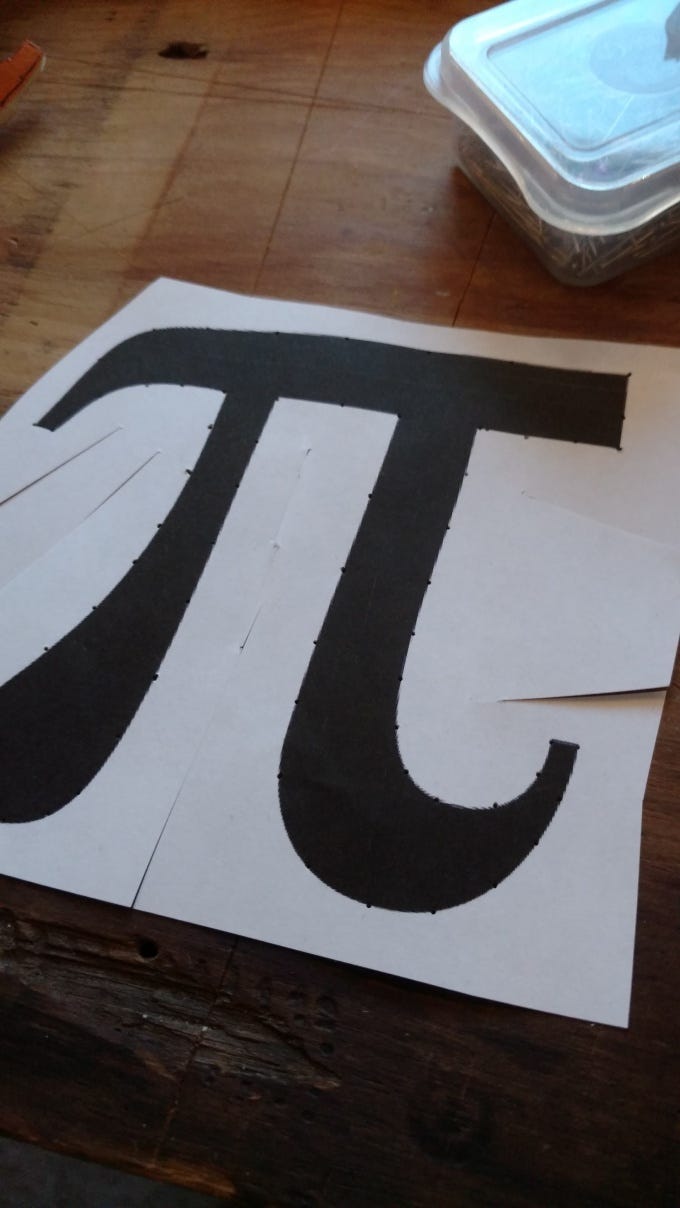
See the holes? The holes create a "connect the dots" on your pumpkin.
5. Connect those dots! I used a ballpoint pen and just drew on the pumpkin. Nothing fancy there.
6. You should see a clear outline of a pi symbol on the surface of your pumpkin. Get your x-acto knife and carefully (CAREFULLY) start scoring the pumpkin along the outline you've traced. Work slowly. We worked best by scoring an inch or so before cutting in deeper to the pumpkin. The wall of the pumpkin was about 1/4" thick, so be mindful of that, and don't press too hard. You don't want to bust off that middle part or break it.
7. Work around the symbol until you've free it! The edges may need some cleaning up so shave them down with your x-acto knife.
8. Put that LED tea light inside and enjoy!
EXTRA CREDIT:
I decided to arrange some fake flowers on the top with a nice green bow. This is more free form. GO FOR IT! but I'll share some tips.
-Hot glue is your friend.
-So is a drill and a gentle hand! We bundled together the stems of the flowers and zip tied them together. We drilled a hole into the pumpkin's stem very, very slowly (using a pilot hole) and once it was cleared we pushed the flowers through.
-The bow was zip tied to the flowers.
-Honestly, you could probably get away with just glueing a bow or flowers to it and not that fancy drill stuff. But if you want to try that, make sure you're far enough down that you don't just bust off the top of the stem.
-But heck - if you do, glue a flower on top! CRAFTING!
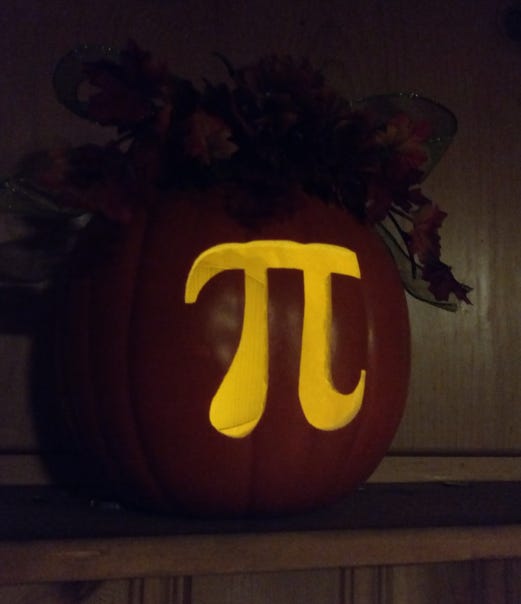
YOU DID IT. YOU MADE A FESTIVE, SEASONAL PUN THAT WILL DELIGHT AND IMPRESS! (Maybe!) CONGRATS!


